
今回は、SpringフレームワークとSpringセキュリティを使って、Form認証する手順についてご紹介したいと思います。
目次
はじめに
フォーム認証(Form認証)とは、入力フォーム(ログインフォーム)を使ってWebページの特定領域にアクセス制限をかけることができる認証方式です。
具体的にはフォーム認証をかけるとどうなるかと言うと、認証をかけたページにアクセスするとログイン操作が済んでいなければログイン画面に遷移するようになります。
つまりフォーム認証をかけると、ログインしていなければページにアクセスできないようにすることができます。
それでは順を追って、Form認証を実装する手順を見ていきましょう!
依存関係の追加(pom.xmlへの追加)
Springセキュリティを使うためにpom.xmlへ依存関係を追加します。
        <!-- Spring Security -->
        <dependency>
            <groupId>org.springframework.security</groupId>
            <artifactId>spring-security-bom</artifactId>
            <version>${spring-framework.version}</version>
            <type>pom</type>
            <scope>import</scope>
        </dependency>
        <dependency>
            <groupId>org.springframework.security</groupId>
            <artifactId>spring-security-web</artifactId>
            <version>${spring-framework.version}</version>
        </dependency>
        <dependency>
            <groupId>org.springframework.security</groupId>
            <artifactId>spring-security-config</artifactId>
            <version>${spring-framework.version}</version>
        </dependency>
        <dependency>
            <groupId>org.springframework.security</groupId>
            <artifactId>spring-security-taglibs</artifactId>
            <version>${spring-framework.version}</version>
        </dependency>
DelegatingFilterProxyフィルタの設定
Spring BootフレームワークではSpringセキュリティを追加すれば何も設定しなくてもSpringセキュリティを使うことができますが、Springフレームワークでは明示的にSpringセキュリティを読み込むように設定をしなければなりません。
そのために、web.xmlのフィルタ設定でDelegatingFilterProxyを読み込むように設定します。
<?xml version="1.0" encoding="UTF-8"?>
<web-app xmlns:xsi="http://www.w3.org/2001/XMLSchema-instance"
    xmlns="http://java.sun.com/xml/ns/javaee"
    xsi:schemaLocation="
            http://java.sun.com/xml/ns/javaee
            https://java.sun.com/xml/ns/javaee/web-app_2_5.xsd"
    id="WebApp_ID" version="2.5">

    <display-name>SpringWeb</display-name>

    <!-- - Location of the XML file that defines the root application context.
        - Applied by ContextLoaderListener. -->
    <context-param>
        <param-name>contextConfigLocation</param-name>
        <param-value>
            classpath:spring/application-config.xml
            <!-- (注意)security-context.xmlをspringSecurityFilterChainのフィルター宣言前に読み込まなければならない。 -->
            <!-- xml内で読み込むConfigurationでフィルターに必要なクラスを読み込んでいる。 -->
            classpath:spring/security-context.xml
        </param-value>
    </context-param>

    <!-- (ここから↓↓)Spring Bootでは必要ないが、Springではフィルターを宣言しないといけない。 -->
    <filter>
        <filter-name>springSecurityFilterChain</filter-name>
        <filter-class>org.springframework.web.filter.DelegatingFilterProxy
        </filter-class>
    </filter>

    <filter-mapping>
        <filter-name>springSecurityFilterChain</filter-name>
        <url-pattern>/*</url-pattern>
    </filter-mapping>
    <!-- (ここまで↑↑)Spring Bootでは必要ないが、Springではフィルターを宣言しないといけない。 -->

    <listener>
        <listener-class>org.springframework.web.context.ContextLoaderListener</listener-class>
    </listener>

    <!-- - Servlet that dispatches request to registered handlers (Controller
        implementations). -->
    <servlet>
        <servlet-name>dispatcherServlet</servlet-name>
        <servlet-class>org.springframework.web.servlet.DispatcherServlet
        </servlet-class>
        <init-param>
            <param-name>contextConfigLocation</param-name>
            <param-value>
                /WEB-INF/mvc-config.xml
            </param-value>
        </init-param>
        <load-on-startup>1</load-on-startup>
    </servlet>

    <servlet-mapping>
        <servlet-name>dispatcherServlet</servlet-name>
        <url-pattern>/</url-pattern>
    </servlet-mapping>

</web-app>
security-context.xmlの作成
web.xml内でsecurity-context.xmlを読み込むように設定していたので、security-context.xmlファイルを作成します。
<?xml version="1.0" encoding="UTF-8"?>

<beans xmlns="http://www.springframework.org/schema/beans"
    xmlns:xsi="http://www.w3.org/2001/XMLSchema-instance"
    xmlns:mvc="http://www.springframework.org/schema/mvc"
    xmlns:context="http://www.springframework.org/schema/context"
    xmlns:sec="http://www.springframework.org/schema/security"
    xsi:schemaLocation="http://www.springframework.org/schema/mvc https://www.springframework.org/schema/mvc/spring-mvc.xsd
        http://www.springframework.org/schema/security http://www.springframework.org/schema/security/spring-security.xsd
        http://www.springframework.org/schema/beans https://www.springframework.org/schema/beans/spring-beans.xsd
        http://www.springframework.org/schema/context https://www.springframework.org/schema/context/spring-context.xsd">

    <!-- SecurityConfigクラスまでをコンポネートスキャンしている -->
    <context:component-scan
        base-package="com.pom2019.security" />

</beans>
SecurityConfig.javaの作成
Springセキュリティの基となる設定ファイルを作成します。
ここで、どういった条件で認証するかや認証する際にどのサービスを使うかの設定を行います。
今回はコメントアウトしていますが、暗号化されたパスワードを使う場合、①と②のコメントを外すとパスワードの暗号化が有効になります。
package com.pom2019.security;
import org.springframework.beans.factory.annotation.Autowired;
import org.springframework.context.annotation.ComponentScan;
import org.springframework.context.annotation.Configuration;
import org.springframework.security.config.annotation.authentication.builders.AuthenticationManagerBuilder;
import org.springframework.security.config.annotation.web.builders.HttpSecurity;
import org.springframework.security.config.annotation.web.configuration.EnableWebSecurity;
import org.springframework.security.config.annotation.web.configuration.WebSecurityConfigurerAdapter;
import org.springframework.security.core.userdetails.UserDetailsService;
@Configuration //コンフィギュレーションとして宣言する
@EnableWebSecurity //Webセキュリティを有効にする
@ComponentScan("com.pom2019.service")
public class SecurityConfig extends WebSecurityConfigurerAdapter {
@Autowired
UserDetailsService userDetailsService;
// //***パスワードエンコーダーを使う場合は①と②をコメントアウトする***
// //①パスワードのエンコーダー
// @Bean
// public PasswordEncoder passwordEncoder() {
// return new BCryptPasswordEncoder();
// }
@Autowired
public void configureGlobal(AuthenticationManagerBuilder auth)
throws Exception {
//***認証にUserDetailServiceを使う
auth.userDetailsService(userDetailsService);
// //②
// auth.userDetailsService(userDetailsService);
// .passwordEncoder(passwordEncoder());
}
@Override
protected void configure(HttpSecurity http) throws Exception {
http.authorizeRequests()
.antMatchers("/js/**", "/css/**").permitAll() //"/js/**"と"/css/**"はアクセスを許可
.antMatchers("/**").authenticated() //上記以外は認証を要求
.and()
.formLogin() //フォーム認証を行う
.loginPage("/loginForm") //ログイン画面
.loginProcessingUrl("/login") //認証URL
.usernameParameter("userid") //ユーザ名
.passwordParameter("password") //パスワード
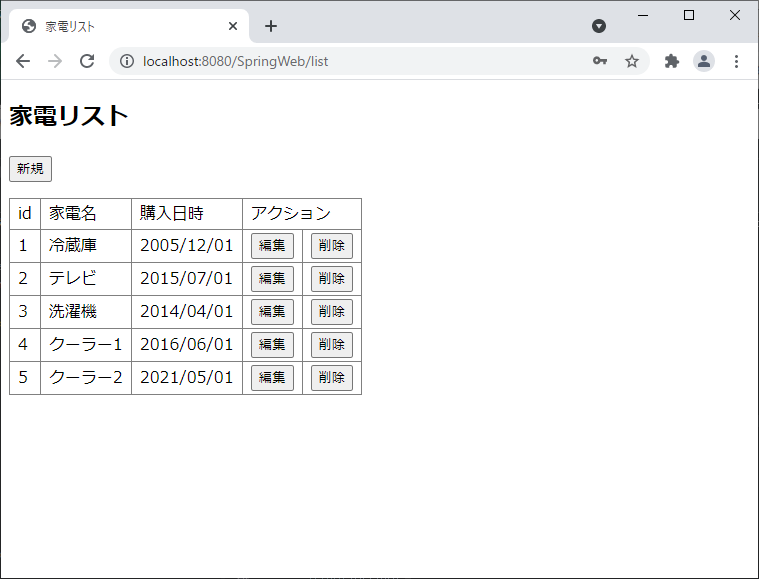
.defaultSuccessUrl("/list", true) //認証成功時
.failureUrl("/loginForm?error=true").permitAll(); //認証失敗時
}
}認証を行うサービスの作成
認証を行うためのサービスを作成します。
ここで作成するサービスは「org.springframework.security.core.userdetails.UserDetailsService」をインプリメントする必要があります。
UserInfoDaoはDBからユーザ情報を取得するためのDaoです。
UserInfoテーブルにはユーザIDやパスワード、管理者かどうかを示すフラグなどがカラムとして保存されています。
package com.pom2019.service;

import java.util.Collection;
import java.util.Optional;

import org.springframework.beans.factory.annotation.Autowired;
import org.springframework.context.annotation.ComponentScan;
import org.springframework.security.core.GrantedAuthority;
import org.springframework.security.core.authority.AuthorityUtils;
import org.springframework.security.core.userdetails.UserDetails;
import org.springframework.security.core.userdetails.UserDetailsService;
import org.springframework.security.core.userdetails.UsernameNotFoundException;
import org.springframework.stereotype.Service;

import com.pom2019.dao.UserInfoDao;
import com.pom2019.entity.UserInfo;
import com.pom2019.security.AccountUserDetails;

@Service
@ComponentScan("com.pom2019.dao")
public class AccountUserDetailsService implements UserDetailsService {

    //ユーザ情報を取得するために注入する
    @Autowired
    UserInfoDao userInfoDao;

    @Override
    public UserDetails loadUserByUsername(String username) throws UsernameNotFoundException {
        //DBからユーザ情報を取得し、ユーザ情報と権限情報をセットする
        UserInfo userInfo = Optional.ofNullable(userInfoDao.findByUserId(username))
                .orElseThrow(() -> new UsernameNotFoundException("ユーザが見つかりません")).get(0);
        return new AccountUserDetails(userInfo, getAuthorities(userInfo));
    }

    private Collection<GrantedAuthority> getAuthorities(UserInfo userInfo) {
        //Admin権限があるか判別し、権限情報を返却する
        if (userInfo.isAdmin()) {
            return AuthorityUtils.createAuthorityList("ROLE_USER", "ROLE_ADMIN");
        } else {
            return AuthorityUtils.createAuthorityList("ROLE_USER");
        }
    }
}
サービスで必要なユーザ情報を保存するクラス
サービスで必要なユーザ情報を保存するクラスには「org.springframework.security.core.userdetails.User」を継承したクラスで作成しています。
Userクラスを使うことで、ユーザ情報を保存するクラスを簡単に作成することができます。
もう少し細かい設定を行いたい場合は自作することもできます。
package com.pom2019.security;

import java.util.Collection;

import org.springframework.security.core.GrantedAuthority;
import org.springframework.security.core.userdetails.User;

import com.pom2019.entity.UserInfo;

public class AccountUserDetails extends User {

    private UserInfo userInfo;

    public AccountUserDetails(UserInfo userInfo,
            Collection<? extends GrantedAuthority> authorities) {
        this(userInfo, true, true, true, true, authorities);
    }

    public AccountUserDetails(UserInfo userInfo, boolean enabled, boolean accountNonExpired,
            boolean credentialsNonExpired, boolean accountNonLocked,
            Collection<? extends GrantedAuthority> authorities) {
        //パスワードの接頭辞に {noop} を付けることでパスワードエンコーダーを使わない
        //場合のパスワードで認証できる
        super(userInfo.getUserId(), "{noop}" + userInfo.getPassword(), true, true, true, true, authorities);
        this.userInfo = userInfo;
    }

    public UserInfo getUserInfo() {
        return userInfo;
    }
}
UserInfoテーブルの中身
PostgresでのDDLとUserInfoテーブルの中身は下記の通りです。
| user_id | user_name | password | is_admin |
| admin | 管理者 | admin | True |
| dev | 開発者 | dev | False |
| user | ユーザー | user | False |
create table test.user_info (
  user_id character varying not null
  , user_name character varying
  , password character varying
  , is_admin boolean
  , primary key (user_id)
);
ログイン画面を表示するための設定
SecurityConfigクラスで設定したログイン画面のパスが呼ばれた場合、ログイン画面が表示されるようにコントローラで設定します。
package com.pom2019.controller;
import org.springframework.stereotype.Controller;
import org.springframework.web.bind.annotation.RequestMapping;
@Controller
public class LoginController {
@RequestMapping("/loginForm")
String loginForm() {
return "/loginForm";
}
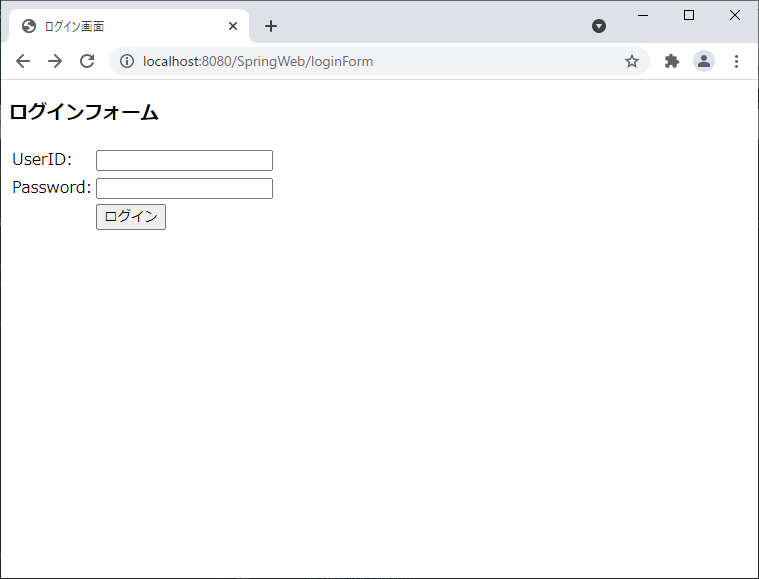
}ログイン画面のhtmlは下記の通りです。
<!DOCTYPE html>
<html xmlns:th="http://www.thymeleaf.org">
<head>
<meta charset="UTF-8" />
<title>ログイン画面</title>
</head>
<body>
<h3>ログインフォーム</h3>
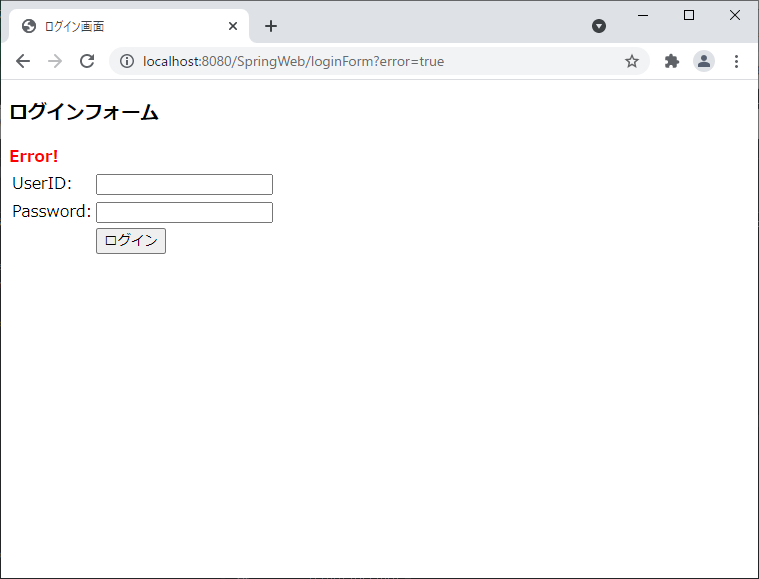
<div th:if="${param.error}" style="color:red; font-weight:bold;">
Error!
</div>
<form th:action="@{/login}" method="POST">
<table>
<tr>
<td><label for="username">UserID:</label></td>
<td><input type="text" id="userid" name="userid" value="" /></td>
</tr>
<tr>
<td><label for="password">Password:</label></td>
<td><input type="password" id="password" name="password" value="" /></td>
</tr>
<tr>
<td> </td>
<td><button type="submit">ログイン</button></td>
</tr>
</table>
</form>
</body>
</html>実行してみよう!
サーバを起動してエラーが出なければ起動に成功です。
トップページにアクセスしてみましょう。
- ログイン画面が表示されたらOKです
- UserInfoテーブルに存在しないIDとパスワードを入力すると、エラーと表示されます
- UserInfoテーブルに存在するIDとパスワードを入力してみましょう
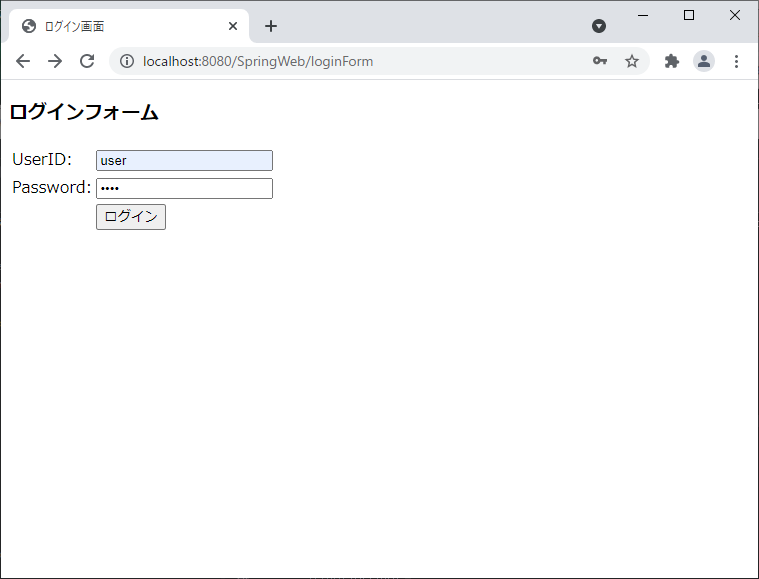
- ログインに成功しトップ画面が表示されます
参考にした書籍
今回のSpringセキュリティに関する内容は下記の書籍を参考にしました。
まとめ
SpringセキュリティのForm認証について紹介してきました。
Form認証でよく使われるカスタマイズもコードを少し変えるだけで実装することができます。
定型的な部分をフレームワークが担ってくれるので、1度覚えてしまえばかなり便利に使えそうです。
最後までお読み頂きありがとうございました。


コメントを残す